If you have ever felt a cold draft cut across the couch or watched your heating system work overtime on a windy night, you already know why learning how to winterize windows matters. A little prep now keeps warm air inside, reduces energy waste, and makes every room more comfortable when temperatures drop.
In eastern Massachusetts, those first cold snaps can arrive without warning, and the freeze-thaw swings around Waltham and nearby towns are tough on seals, frames, and hardware. Winterizing windows is not just for older houses, either. Even newer units can loosen over time, letting small gaps turn into noticeable heat loss.
The good news: Most fixes are simple. And if your first inspection shows bigger issues, that is useful too. It helps you determine whether maintenance is enough or if replacing windows will deliver better comfort and efficiency.
Below is a complete guide to inspecting, maintaining, and upgrading your windows before winter hits
Window Winterization Inspection Checklist
Start with a simple, room-by-room look. You do not need special tools for this, just a good eye and a few minutes per window.
- Check the exterior caulk and seals. Look along the outside edges where the window frame meets the siding or trim. If the caulk is cracked, pulling away or missing in spots, cold air and moisture will follow that path into your walls. Small gaps can be re-caulked. Larger separations may point to movement in the frame or older installation issues.
- Look for interior drafts. On a windy day, run your hand along the sides and bottom of the sash. If you feel air moving, the weather-stripping may be worn out or compressed. That is one of the most common reasons people think they need new windows, when they may just need fresh stripping or an adjustment.
- Inspect the glass. Older single-pane windows lose heat quickly and are prone to condensation. Double-pane units should stay clearer. If you see fogging or moisture trapped between panes, the seal has likely failed. That is not something a DIY fix will solve. It is a strong sign the window is no longer insulating the way it should.
- Test sashes and hardware. Open and close each window. If it sticks, rattles or will not lock tightly, it is not sealing well. Broken balances, worn hinges or warped sashes leave small openings that become big comfort problems in January.
- Examine the frame for damage. Soft wood, discoloration, peeling paint or swelling around the sill can mean water is getting in. Moisture behind the frame will expand when it freezes, which can accelerate damage fast.
- Consider Window Age. If your windows are more than 15–20 years old and you are seeing multiple issues across the house, you are probably past quick fixes. At that point, focusing on energy efficient windows and a clean install can be the smarter move long term.
This list gives you a clear baseline. You will know which windows need a small tune-up and which ones are warning you they’re nearing replacement.
Seasonal Window Maintenance Steps
Once you know the basics of winterizing windows, you can move into seasonal maintenance. The goal is to tighten performance and extend the life of your windows.
Seasonal Maintenance Steps
- Clean the tracks and sills. Dirt and grit keep windows from closing fully. Vacuum the tracks, wipe them down, and clear any debris from drainage holes. A window that closes all the way is a window that holds heat.
- Lubricate moving parts. For double hung or sliding windows, a small amount of silicone-based lubricant on tracks and pulleys keeps movement smooth and helps the sash seat properly. Avoid oil-based products that attract dust.
- Replace or reinforce weather-stripping. If the stripping is flattened or torn, swap it out. This is one of the most effective forms of window insulation you can do yourself. It is cheap, fast, and the comfort payoff is immediate.
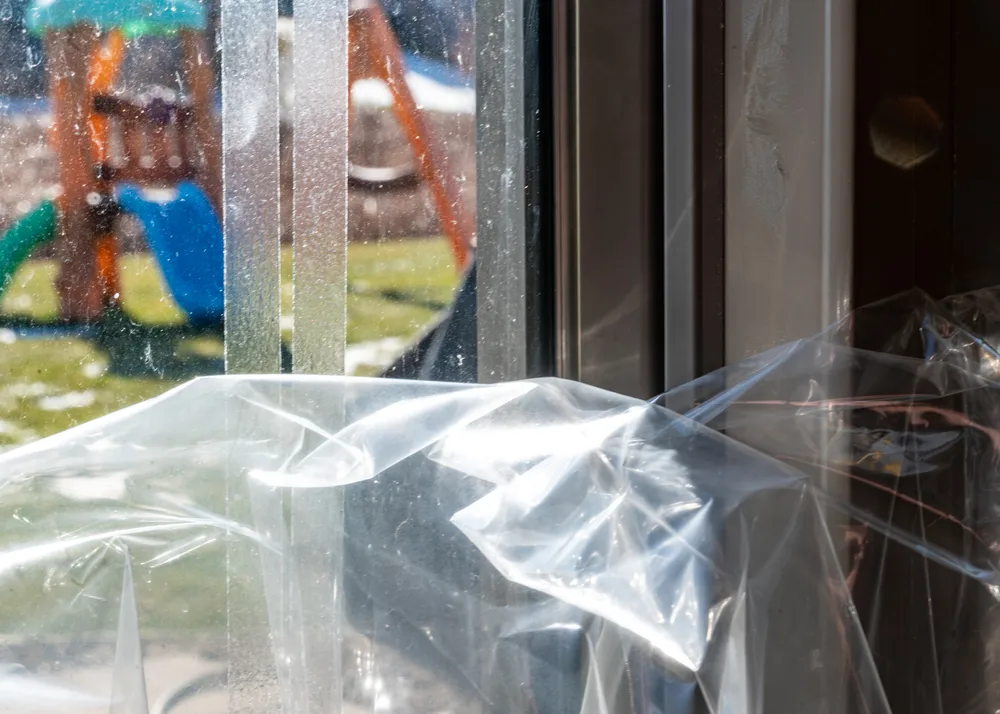
- Add interior window insulation. If a window is drafty but otherwise sound, window insulation kits can be a practical short-term fix. They create an air barrier that reduces heat loss and drafts. Use them on the windows that need help most, not necessarily every window in the house.
- Use thermal window treatments at night. Thermal curtains, cellular shades or window treatments add another insulating layer. Open them during the day to let in sun, then close them once the temperature drops. It’s a small shift that helps you winterize windows to hold heat longer with simple daily habits.
These steps tighten performance without overcomplicating the job. Stop heat loss at the obvious weak spots to help your home hold more consistent temperatures inside.
How To Winterize Windows With Smart Upgrades
DIY steps go a long way, but sometimes the best way to winterize windows is to make sure you are working with the right windows in the first place. If your inspection turned up failed seals, warped frames or steady drafts across multiple rooms, seasonal fixes can only take you so far. Upgrading puts you back in control, especially in older New England homes where winter finds every weak spot.
Here is what matters most when you are comparing options.
- Choose the right frame material. Different materials handle temperature swings differently, and in Massachusetts, those swings are not gentle.
- Vinyl is cost-effective, low maintenance, and performs well against air leakage when installed correctly. It’s a dependable choice for homeowners who want strong insulation without a big upkeep list. Quality vinyl frames resist moisture, do not need repainting, and hold their seal well for everyday New England winters, especially when paired with good weather-stripping and a tight install.
- Fiberglass is one of the most stable options. It expands and contracts less in extreme cold, which helps seals stay tight longer. That matters in a climate where temperatures swing hard week to week. If draft control and long-term performance are your top priorities, this is usually the upgrade that delivers.
- Wood-clad gives you a classic look with an exterior layer that protects against moisture and weather. In cold, wet regions, wood can be vulnerable to moisture damage or finish wear if it’s ignored. So it holds up well when maintained, but it’s not the toughest set-it-and-forget-it option.
None of those materials perform the way they should without a clean install. A great window can still underperform if the frame is not square or sealed properly. That is why professional installation is important. It is the difference between a window that lasts and one that leaks.
- Look at performance ratings, not marketing claims. Two numbers tell you a lot about winter comfort.
- U-factor measures insulation. The lower the number, the better it holds heat. In cold climates, a good target is 0.30 or lower. If you see 0.27–0.30, that’s a strong winter performer. Premium triple-pane units can drop closer to the low 0.20s, but less than 0.30 is the key threshold most pros use for cold zones.
- Solar heat gain coefficient (SHGC) measures how much solar warmth comes through. In a cold New England winter, a moderate SHGC helps you take advantage of sunny days. For eastern Massachusetts’ mixed climate, look for something around 0.30 to 0.40 as a smart balance.
- Ask about Low-E coatings and gas fills. Most energy efficient windows use Low-E glass to reflect heat back into your home while still letting light in. Many also use argon-filled double panes to slow heat transfer even more. Together, those features make a real difference on cold nights and windy afternoons.
- Match the window style to your home. Double hung windows are easy to ventilate and clean. Casements seal tight because they press into the frame when locked. Sliders work well in tight spaces and stay simple to operate. Basements, bays, bows and patio doors all have their best-fit roles. When you choose based on function first, the look tends to fall into place naturally.
At Fisher Windows, we offer expert guidance, experience, and help make sure every homeowner is getting the right fit for their home. We carry trusted brands like Andersen, Pella, Marvin and Harvey because they hold up in real weather. If you are thinking about an upgrade, take a look at our window replacements page to see the styles and brands we install.
Cost Savings and ROI of Winter-Ready Windows
Winter-ready windows pay you back in three clear ways.
- Lower Energy Costs. Tighter, better-insulated windows cut down on heat loss, so your furnace does not have to work overtime just to keep room temperatures stable. That matters most in homes with older single-pane glass or double-pane units with failed seals.
- Improved Comfort. The return is not only felt in your utility bill savings. Drafty rooms start feeling livable again. Floors stay warmer. Temperatures even out across the house, so you are not constantly nudging the thermostat to chase comfort.
- Stronger Resale Value. Buyers notice windows that look good and perform well. Quality replacement windows, installed correctly, send a quiet message that the home has been cared for, and that can support a stronger sale price when the time comes.
Before The Cold Hits: A Quick Recap And Next Step
Winterizing your windows doesn’t need to be complicated. A careful inspection, some routine maintenance, and the right insulating options can help you stay warm all winter long. And if the inspection shows bigger problems, that’s your green light to consider replacement windows that deliver long-term value.
If you’d like a professional opinion on whether your windows can be repaired or should be replaced, Fisher Windows is here to help.
Schedule an inspection or request an estimate today before temperatures drop and drafts get worse.